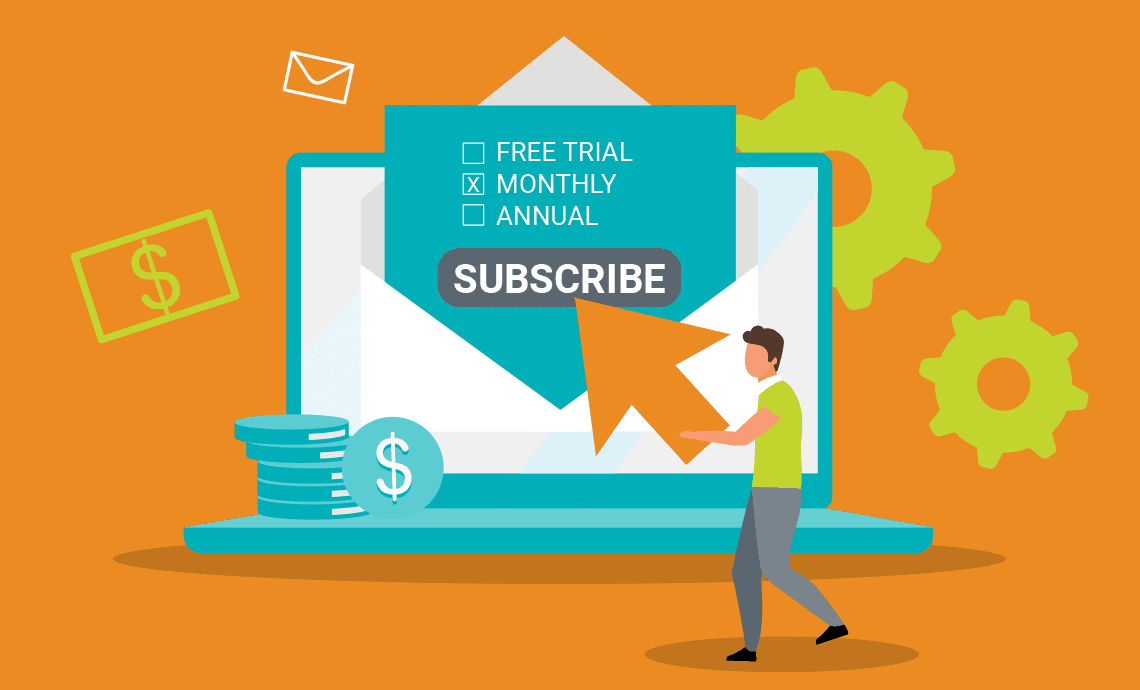
The other day I was working with a client who needed to log an activity for a contact record, and it wasn’t a “call.” Staff was confused by the “Log a Call” button. Although it’d be great to simply update this button’s label the Spring ‘13 version of Salesforce does not support the relabeling or modification of this button. Instead, we suggested removing the button and replacing the button with a custom one. Here’s how to do it!
Step 1: Create a new custom Task Button
- Navigate to your Salesforce Setup Area > App Setup section > Activities > Task Buttons and Links
- Scroll to the “Custom Buttons and Links” section and click the New button
- Label: Assign your button a label you’d like staff to see
- Display Type: List Button
- Behavior: Display in existing window without sidebar or header
- Content Source: URL
- Syntax: https://cs10.salesforce.com/00T/e?title=Call&who_id={!Contact.Id}&what_id={!Contact.Id}{!Account.Id}&retURL=%2F{!Contact.Id}{!Account.Id}
- Save your button
Syntax Explained:
cs10 org server locationtitle= “subject” of task
who_id= who the task is assigned to (Person Account)
what_id= what account the task is assigned to (Account)
retURL= after save, the record you’d like to return to
Note: Separate each variable with the ampersand (&)
Other variables you can use in this string as well:
tsk4= due date of the task
tsk6= comments of the task
tsk10= type of task, if enabled in your org
tsk12= status of the task
Step 2 – Place button on the appropriate related list
- Navigate to the page layout you’d like to update
Note: if your installation of Nimble AMS feature multiple page layouts, you’ll need to update each page layout accordingly - Configure the appropriate list: “Activity History” or “Open Activities”
- Expand buttons, and move your custom button to the “selected buttons” column
Note: you may also choose to remove the “Log a call” button from this panel - Save your layout
Step 3 – Test and use!
- Before you launch your custom button configuration to your production org, make sure it works as anticipated
- Deploy all changes to the production org and enjoy your new button labels and funcitons!
Now that you know how to create custom buttons, you should be able to offer staff many more options to log specific types of tasks quicker. Good luck and happy configging!